Introduction
Using Sitely
Elements
How to
Sitely allows for the creation of groups of elements on the canvas. This not only makes it easy to rearrange elements on the page, but helps keep your layer structure well organised and documented.
Groups are essentially created when two or more elements are merged into a single element, For example, the navigation element below is actually a group of elements comprising of two wide boxes for the background, a menu, for the actual navigation. a telephone number. an icon, and a logo. When all the elements are grouped, the whole navigation bar becomes a single element that can be placed anywhere on the canvas.

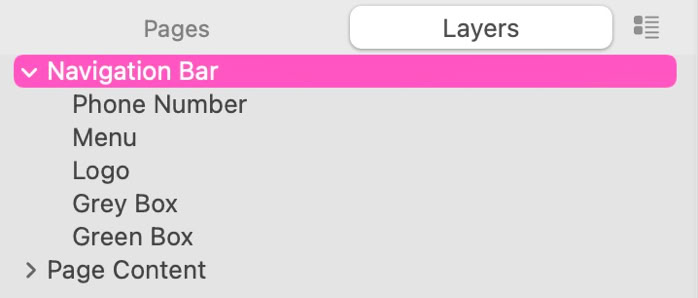
Over in the layers panel, you will see that the group has been given a name - ‘Navigation Bar’ in this example, and all the individual elements have been organized under the group heading. If the group is collapsed, we will only see the group name Navigation Bar, making it easy to locate and select.

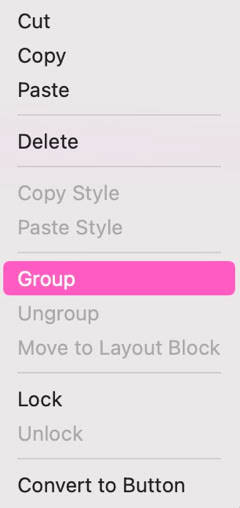
To create the group, just select all the elements that are to be included in the group. You can do this by clicking and dragging over the elements until they are all selected, or pressing shift or Cmd click to select each element in turn. Once the elements are selected, right-click and choose Group from the context menu.
Alternatively, you can choose group from Sitely’s ‘Arrange’ menu. You can ungroup items by selecting the group and choosing the option to ungroup from either the context menu or arrange menu. Even when items have been grouped, you can still select them individually for editing. You may select them from the layers panel, or click once on the group to select the whole group, and then click again to select an individual item within the group.
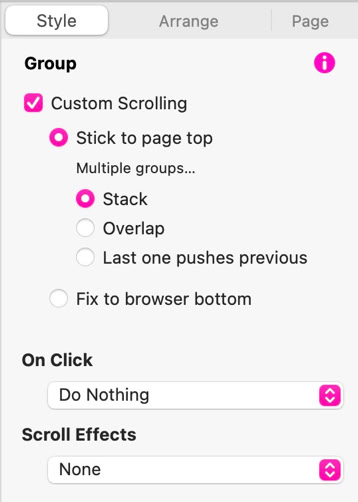
Once a group has been created, you can apply custom scrolling effects. These are shown in the style panel when a group of elements is selected on the canvas.


The ‘Stick to page top’ option will force the group to stick to the top of the page, keeping it visible at all times. This is most commonly used for navigation bars, such as the one illustrated above. All other page content will scroll behind the navigation bar. NOTE: it is important to ensure that such a navigation bar group is the topmost item in the layer panel for this to work correctly. If it isn’t the topmost layer, the page content will scroll OVER the bar.
If you have multiple groups, they can each have their own custom scrolling feature. For example, if the next group on your page was a hero section, you could have that set to Stack. With this option selected, the hero would reach the navigation bar and stop, leaving the rest of the page to scroll behind it . If it were set to Overlap, the hero section would overlap the navigation bar before remaining at the top of the page. If the option were set to ‘Last one pushes previous’ each group would push the previous one off the page top.
Groups can also have ‘on-click´ actions applied to them as if they were individual items. Animated scroll effects may also be applied to whole groups.
Please report any shortcoming in this documentation and we’ll fix it as soon as possible!
Updated for Sitely 6