Start here
Editing and styles
Media and content
Tutorials
Site and publishing
Layout and navigation
Forms and services
With a timeline, you can decide how an element moves or changes over time. A sequence holds separate tracks for position, rotation on three axes, depth, scale and opacity. Set a keyframe at a particular time and Sitely works out the changes between it and the next one.
Open the Animation Timeline and choose or create a sequence. Select an element, then move the playhead to the time you want to change it. Drag the element on the canvas to record its position, or use the timeline rotation control to record a rotation.
Use Add to add keyframes at the playhead. Its menu includes Position, Rotation Z, Scale, Opacity, Rotation X, Rotation Y and Depth Z. All Channels records the current pose, including 3D channels already in use. Move to another time and record another value, then press Play to review the sequence.
If a channel’s first keyframe is after time zero, Sitely also records its starting value at zero. The animation changes how the element appears without moving or resizing it in the page layout.

The Welcome sequence contains a position track with keyframes at 0 and 1.2 seconds.
Expand an element’s row to see the channels you’ve animated. Click a diamond in a channel to edit that keyframe. A diamond in the element’s summary row selects all its keyframes at that time.
The main inspector switches to Keyframe when keyframes are selected. Position shows X and Y offsets from the element's ordinary layout position. Rotation Z adds an angle in the page plane, including fractions and full turns. Scale is a percentage of the original size: 100% preserves it and 0% collapses it. Opacity is a percentage of the original appearance: 100% preserves it and 0% makes it transparent.
Expand 3D to edit Rotation X, Rotation Y and Depth Z. These controls work on individual elements and groups. A group transforms together with its contents; children can also have their own animations. Rotations use the element's center as their pivot, and positive depth moves it towards the viewer. Closing the 3D section keeps the animation intact.
Elements remain surfaces without thickness. If an element is edge-on and difficult to select, select it in Layers or through its timeline row and adjust its values in the inspector.
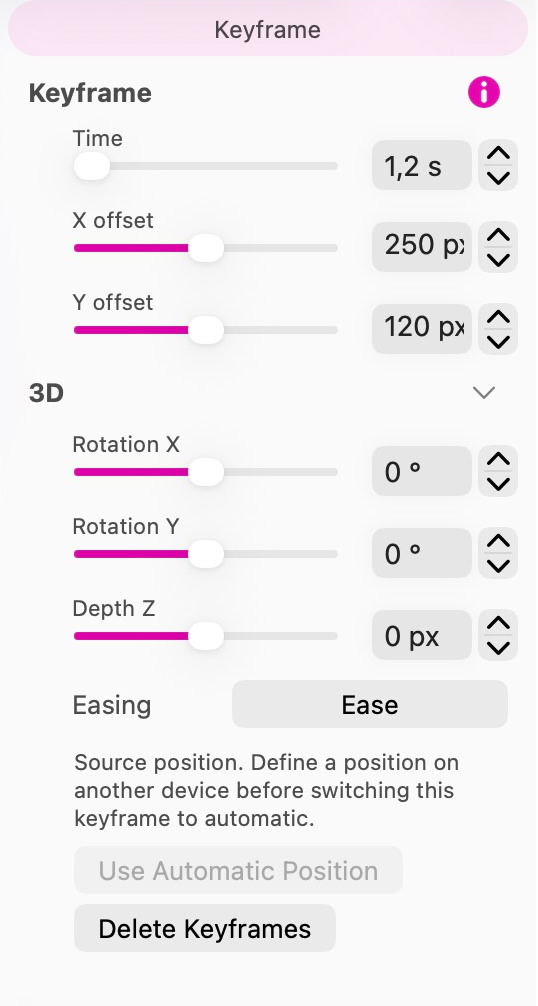
Select a keyframe to edit its time, offsets, 3D values and easing.
Select keyframes for the same element at the same time to change several values together. Across different elements or times, you can still change timing and easing. ‘First time’ shows the earliest selected keyframe; change it to move the whole selection, keeping the gaps between keyframes.
Click an element's timeline row or clear the keyframe selection to return to the ordinary element inspector. Undo and Redo apply to keyframe edits.
The chevrons beside the diamond move to the previous and next keyframe. Scrub the ruler to inspect any time, or enter the time directly. Drag a keyframe to retime it, and use its context menu to copy, paste or delete selections.
Snapping starts off. Enable Snap to 0.1 s in Timeline Options for tenths-of-a-second increments. The same menu offers timeline zoom. Resize the panel with its top grip and close it with the icon at its right edge.
Easing controls how a value changes along the segment after the selected keyframe. Different channels can have different curves.
Open the keyframe’s Easing control to choose a preset or edit the curve. Cubic Bézier lets you shape the acceleration with curve handles. Spring creates a spring-like motion, and Drawn lets you draw a custom curve. Play the sequence to judge the result at its intended duration.
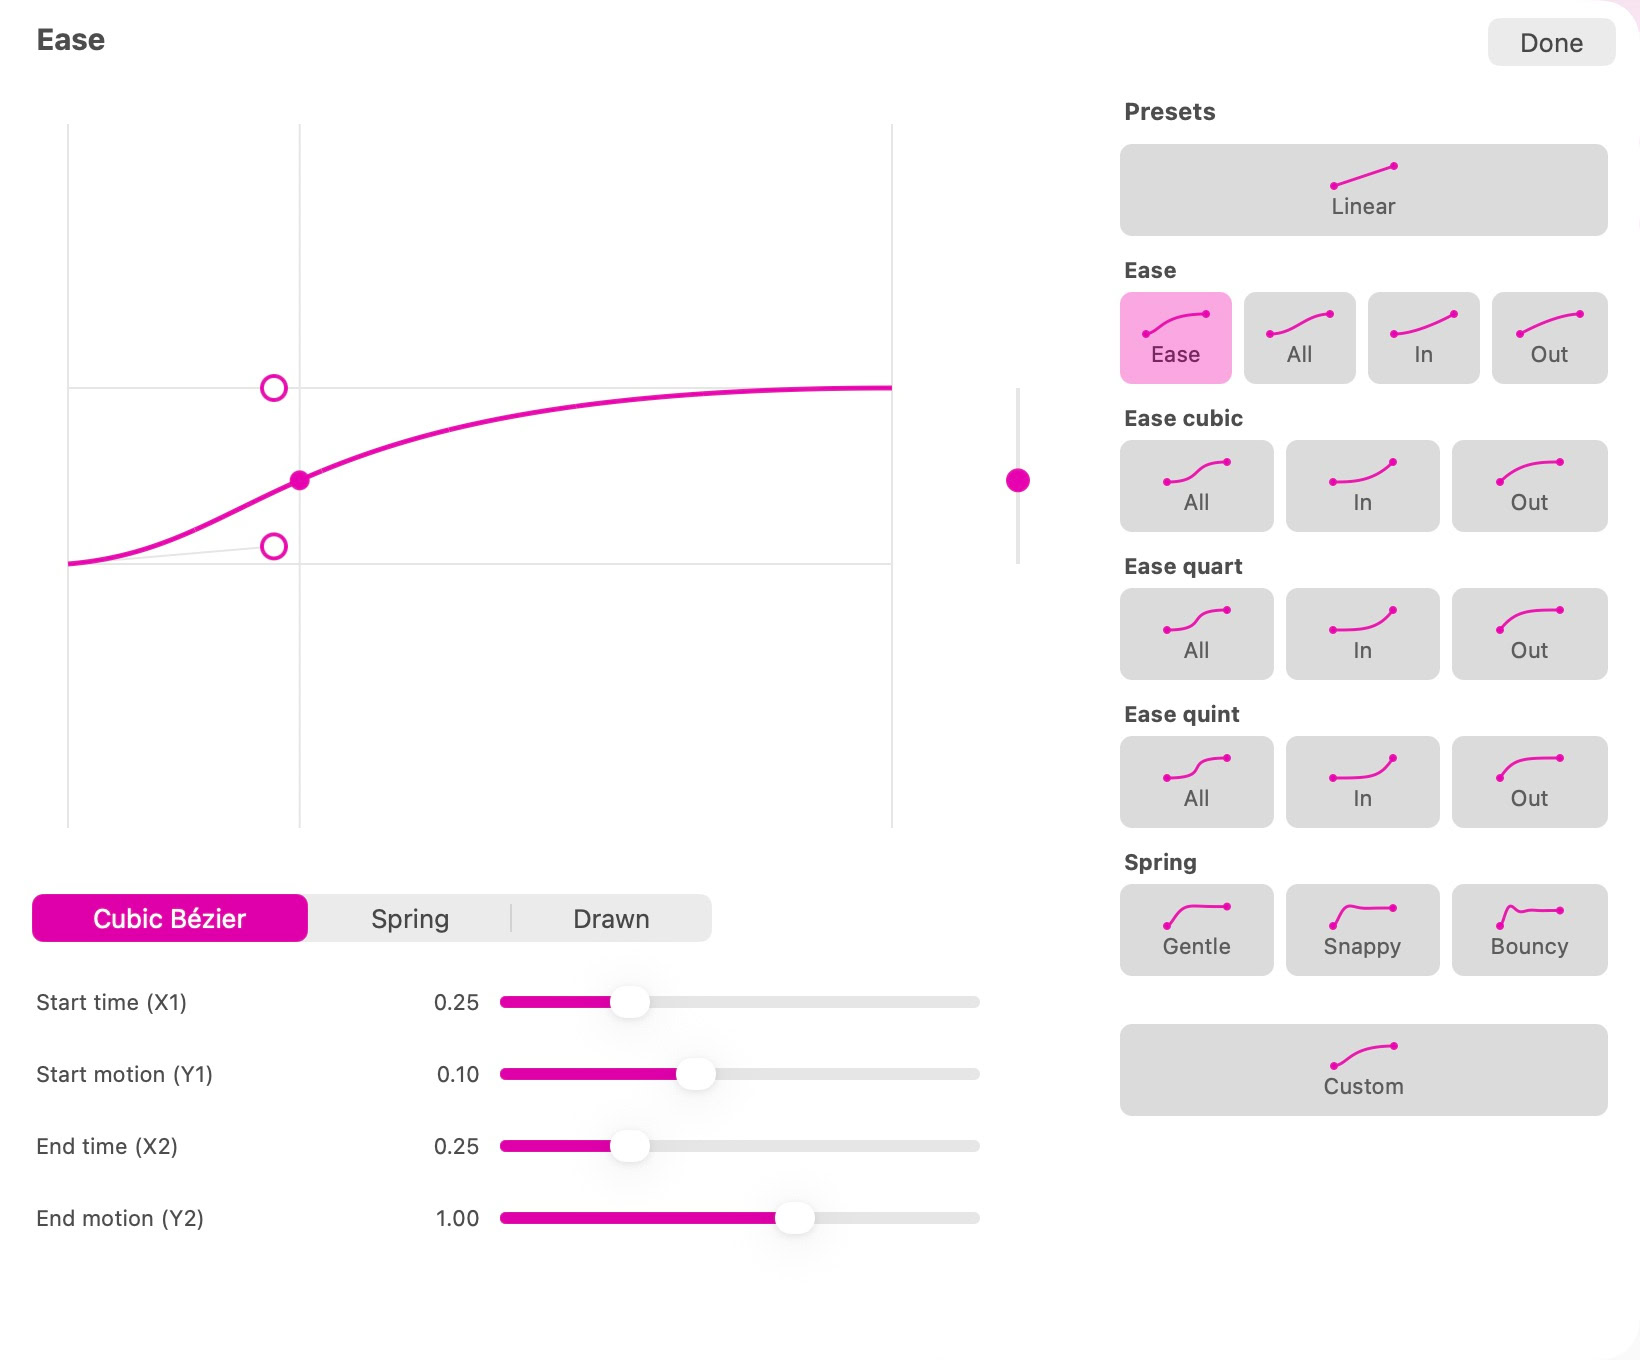
The easing editor offers presets, cubic Bézier curves, springs and drawn motion.
Timing, rotation, scale, opacity and easing stay the same across device layouts. You can adjust position and depth for each device. If you haven’t set a value, Sitely uses one from another layout and scales the offsets to the device width. Perspective scales with depth to keep the proportions consistent. The inspector shows the source width, or tells you that you’ve set a custom value.
To let Sitely calculate the position or depth again, choose ‘Use Automatic Position’ or ‘Use Automatic Depth’. You’ll need a value on another device first, so you can’t remove the last source value.
Add a ‘Timeline Sequence’ animation to the element you want to trigger it. Choose a sequence, then select Enter Viewport, Hover or While Scrolling. The trigger can differ from the elements you’re animating. To start it with a click, use the ‘Play Timeline Sequence’ click action.
Viewport and hover activations offer delay and repeat settings. On Hover Exit can reverse, reset, keep the current position or complete the sequence. Complete Sequence lets playback finish after the pointer leaves; re-entering during playback keeps the same run. While Scrolling maps the element's position in the viewport onto the sequence.
Opening the timeline while editing group variants shows that variant's transition. Square endpoints remain linked to the source and destination variants, including their 3D values. Starting values are read-only; editing destination values also updates the destination variant.
Add intermediate keyframes and adjust the easing after each keyframe to shape the transition. You can’t delete the linked endpoints or move their times independently. Returning to the floating toolbar keeps your 3D settings and intermediate keyframes.
Please report any shortcoming in this documentation and we’ll fix it as soon as possible!
Updated for Sitely 8

Powerful and refreshingly simple, at home on Mac, finding new freedom on iPad.
This website makes use of cookies.
Please see our privacy policy for details.